
UNION ARENA: Thirteen Court Guard Squad Deck
Looking for a deck that packs a punch, looking to utterly overwhelm your opponent with powerful attackers that can quickly burst onto the scene and overwhelm the opposition?
BLEACH Green might be the deck for you. This deck focuses on using Yamamoto to gain a massive field advantage over your opponent, and quickly decimate their life points.
Below, let’s look a little deeper into how this deck works, and whether or not it’s the best fit for you.

Breaking down Yamamoto
Although both of these iconic characters get the credit for being headlined in this deck, Yamamoto is the more key card. And it’s not just his Raid version that makes him so critical. His five-energy version is just as useful, helping you build up immense energy on the field.

As you would expect from the leader of the Thirteen Court Guard Squads, Yamamoto is strongest when he’s combined with others on the field. You will need an insane total of seven energy in order to play him in the first place. However, to help you out, once played you can easily move all of the characters from your Energy Line to your Front Line.
Yamamoto is so critical to this deck’s success that it’s worth breaking down this card in greater detail so you know just how to use it and why this deck is built the way it is.
Energy Cost
First and foremost, Yamamoto has a pretty insane energy cost. To reach that seven number, you’re going to have to manage your board very carefully. While this deck does run plenty of characters with additional energy generation, the reality is needing a character to have such high levels of energy is going to be less consistent than builds like BLEACH Purple that run relatively low cost characters.
That being said, there are are reasons for why this high energy cost doesn’t need to be a dealbreaker, and in some ways achieving it is even somewhat easy to do.
Still, it’s the biggest drawback of this otherwise powerhouse character.
Impact 1
Impact 1 is a strong keyword on any character, giving you damage to your opponent’s life just from sidelining a character. With Yamamoto’s 5000 BP, however, that just gets even more outrageous.
When Played/Attacking
Yamamoto’s When Played ability somewhat softens his high energy cost. If you’ve been smart in how you’ve managed your Energy Line, the characters on your Energy Line will be ready to attack the turn Yamamoto is played. This means you can really focus on bolstering up energy and look to swing for one final assault.
Speaking of assault, Yamamoto’s “When Attacking” effect makes the likelihood of landing enough hits to win in a single turn much more likely. This way, all of your characters will gain a near deadly 2000 BP until the end of the turn.
Yamamoto’s Raid targets
This deck includes two characters you can use to Raid Yamamoto. The first is the low cost Shigekuni Yamamoto (with a ruling that enables it to be a Raid target) and the second is the much stronger, four energy Yamamoto.

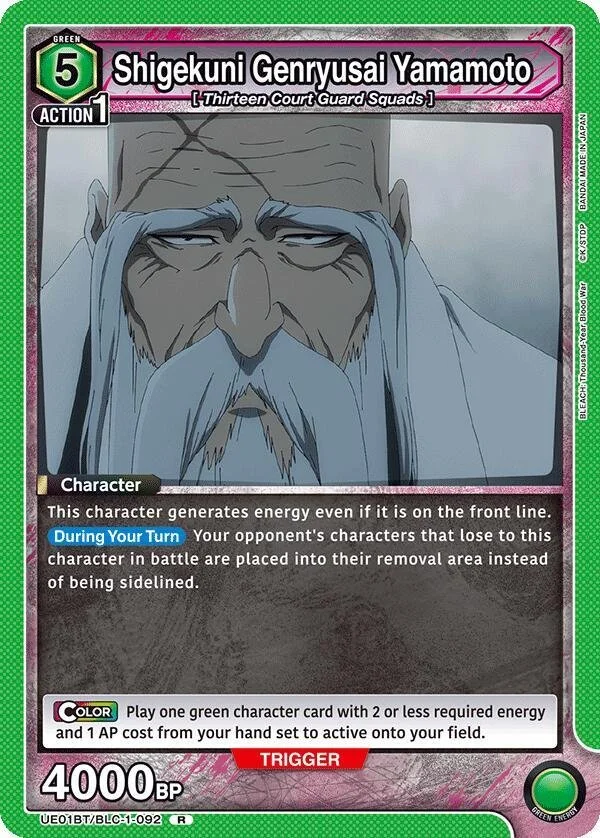
While the former is here largely because he’s a low cost Raid target, the latter is actually excellent for this deck’s strategy as he will enable you to gain added energy from him being in the front line. Stack up your front line with this Yamamoto and it will make playing your other high energy cost characters much, much easier.
Kenpachi is your early game play
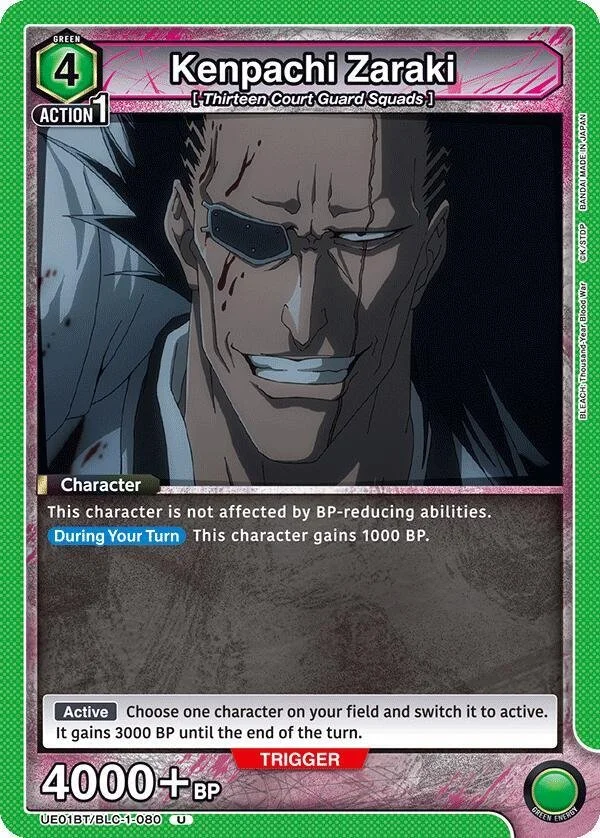

While you have Yamamoto to finish things in one fell swoop so to speak, Kenpachi is great for starting to get ahead early in the game. He’s sort of the opposite of Yamamoto’s card, enabling you to start swinging as soon as possible and hitting for a lot without having to wait for energy to build up on your board.
Both versions of Kenpachi are helpful, but I find the Super Rare Kenpachi to be supreme. With Impact, and a When Played ability that lets you sideline powerful characters, this Kenpachi is all around a powerful card – one of the most powerful, in fact.
That being said, he does come with a pretty glaring drawback – he has zero energy generation and can’t be played to the Energy line at all.
That’s right. He’s an all-out attacker, just the way he is in the show.
If you are a highly aggressive player like Kenpachi, you might find this sort of strategy appealing. Otherwise, this deck may not be right for you.
Yachiru unlocks unique advantages to playing Kenpachi

Yachiru plays an important role as Kenpachi’s sidekick in the anime, and in the card game the same can be said about her. She makes it possible to switch your Kenpachi into the active and use him to start attacking the turn he is played. That’s an incredible play given how strong and aggressive Kenpachi is.
You could almost build an aggro deck around this card interaction alone, significying just how strong it is.
Strong Secondary Attackers add value
Two more characters seamlessly fit into this deck’s strategy thanks to their combined effectiveness and heightened energy generation. This makes them ideal bench warmers to give you the energy you need to play Yamamoto. Once played, use them to attack and wreak havoc.
Shunsui Kyoraku

Shinsui is great because although he only has 2500 BP base, combine him with old man Yamamoto and he’s hitting for 4500. More importantly, however, is his Damage 2 ability, meaning you can really use him to swing for that one turn victory.
Sajin Komamura
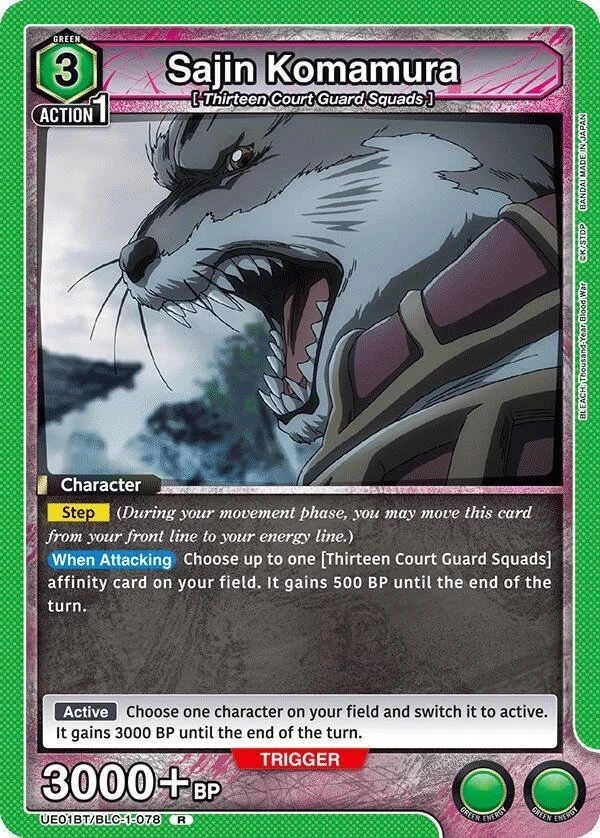
Meanwhile, Saijin is a strategic character, working as both an attacker and energy generator. His handy “Step” keyword lets you move him in and out of the front line, making him double as an attacker and resource. Keep in mind that when he attacks he also is boosting your other characters, making him very handy to overcome defensive obstacles.
Unohana is this deck’s draw engine
This deck (like most in the game right now) heavily relies on characters for their combination of battle points, energy generation, and effects. However, there’s one character included here that is included primarily for its effect, granting you a powerful card search/draw engine. That card is Unohana.
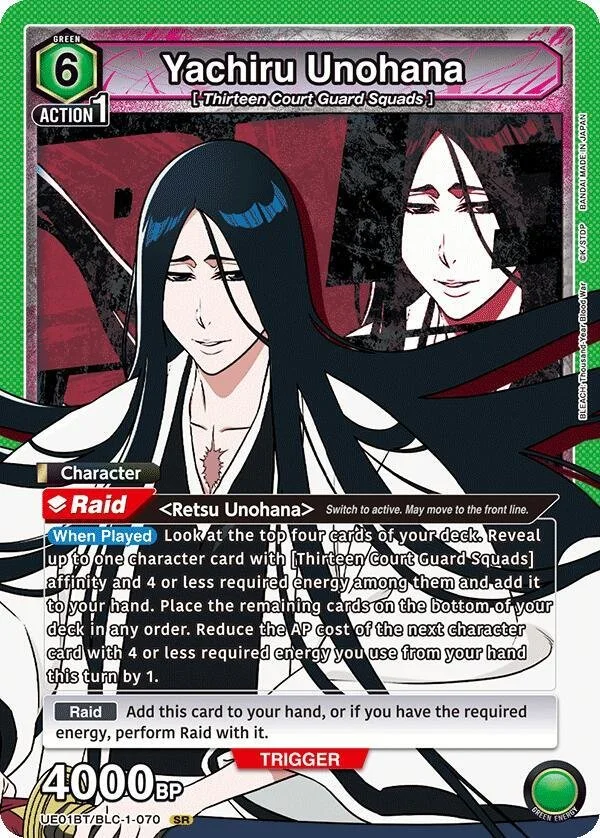
While the six energy required to play her is relatively high, not only does she enable you to search for the card you need from the top of your deck, she lets you play a character for basically free – or in the case of Kenpachi, for only one action. That’s a powerful ability making Unohana the backbone of any BLEACH Green deck right now.
To play her using Raid, you have two options: the zero energy Unohana and the two energy one.


Two energy Unohana is actually really, really good, with an ability that lets you draw a card when she’s played. The only reason this deck isn’t running four of her is that you really need to be reserving your energy line space for characters that bolster your energy in play. This deck runs too many high energy characters to be running a bench stacked with single energy generating characters, meaning you will be playing her sparingly.
On the other hand, zero energy Unohana is a great turn one option, letting you setup for her Raid effect a few turns later.
Bleach Green Event cards
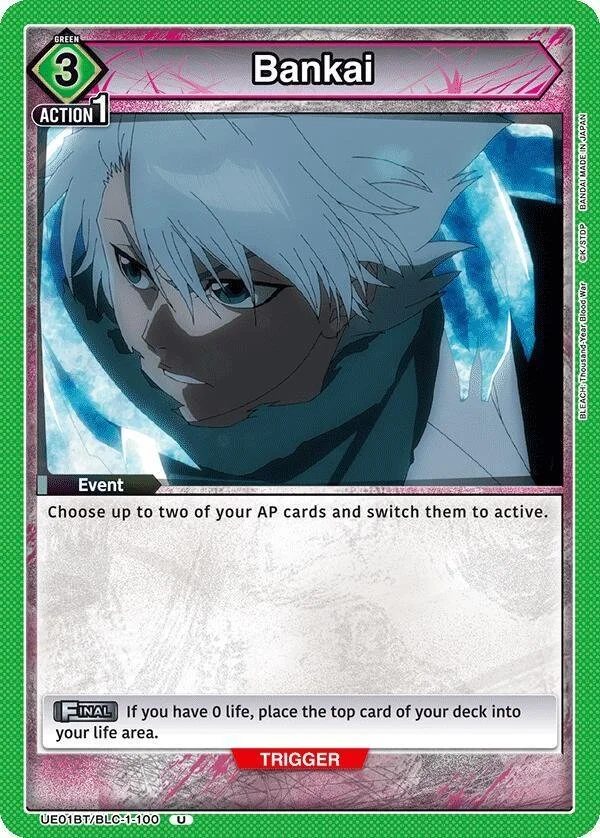
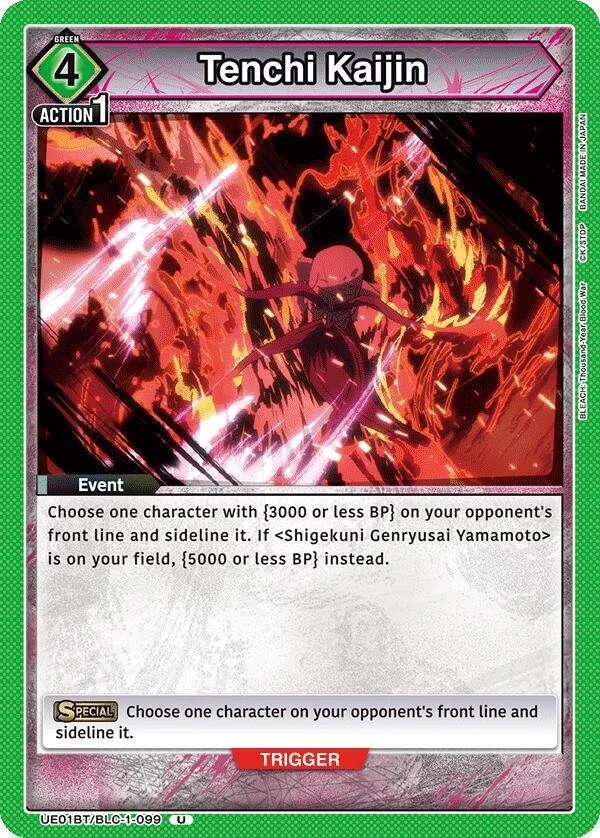
Lastly, this deck runs two different Event cards to help you achieve your win condition. The first is the BLEACH staple “Bankai.” The second is the powerful Tenji Kaijin. Bankai is a powerful card that lets you reuse action points (AP) whereas Tenji Kaijin lets you sideline powerful characters your opponent has on the field. This effect gets stronger from having Yamamoto on the field, so make sure to have him in play before dropping the payload.
This BLEACH Green deck has a ton of potential. Despite it not being considered among the top decks in the UNION ARENA meta right now, with time we could see this deck grow in popularity as a more control option, allowing you to slowly build up your board and win the game in a single turn – assuming you’ve managed to not get destroyed before then!